How do you maximize a water damage insurance settlement? Document everything before cleanup, file immediately, authorise emergency mitigation without waiting for the adjuster, get independent contractor estimates, be present during inspection, claim all damage categories (structural + personal property + ALE + matching), and file for recoverable depreciation after repairs. Each of these steps individually can add thousands to your settlement.
Here's a fact that insurance companies would prefer you didn't know: most homeowners accept the first settlement offer without negotiating. The first offer is not the final offer. It's the starting point. And the gap between what you accept on the first offer and what you're actually entitled to can be $5,000–$30,000 on a significant water damage claim.
This isn't about being adversarial or gaming the system. It's about knowing your policy, documenting your losses, and claiming everything you're entitled to. The homeowners who do this — methodically, with documentation — consistently receive larger settlements than those who don't. Here's how.
Strategy 1: Document Before You Touch Anything
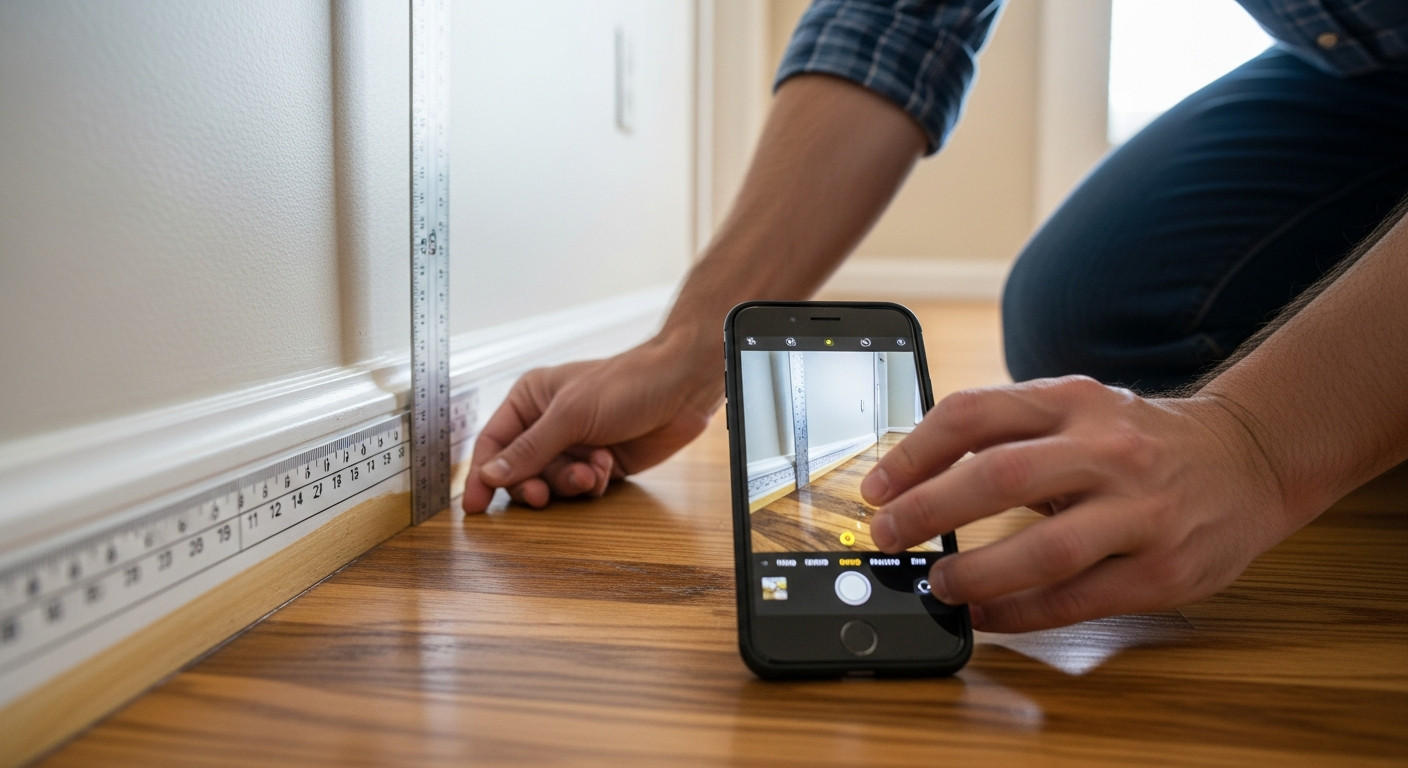
The single most important action in maximising your claim is thorough documentation completed before any cleanup, removal, or mitigation begins. Your adjuster must have evidence of what existed — without it, the insurer can dispute the scope of damage.
Your documentation checklist:
- Video walkthrough of every affected room from multiple angles — narrate what you're seeing as you go
- Close-up photographs of every damaged surface, material, and item
- Water level documentation — hold a ruler against the high-water mark on the wall and photograph it (this single photo can be worth thousands)
- Source photographs — the burst pipe, failed appliance, or storm damage that caused the event
- Timestamps — ensure your phone's location and date/time stamp settings are enabled
- Serial numbers — photograph any damaged electronics or appliances with serial numbers visible
- Pre-existing condition — if you have any recent photos of your home before the damage (real estate listing, holiday photos, social media), save them as evidence of pre-loss condition
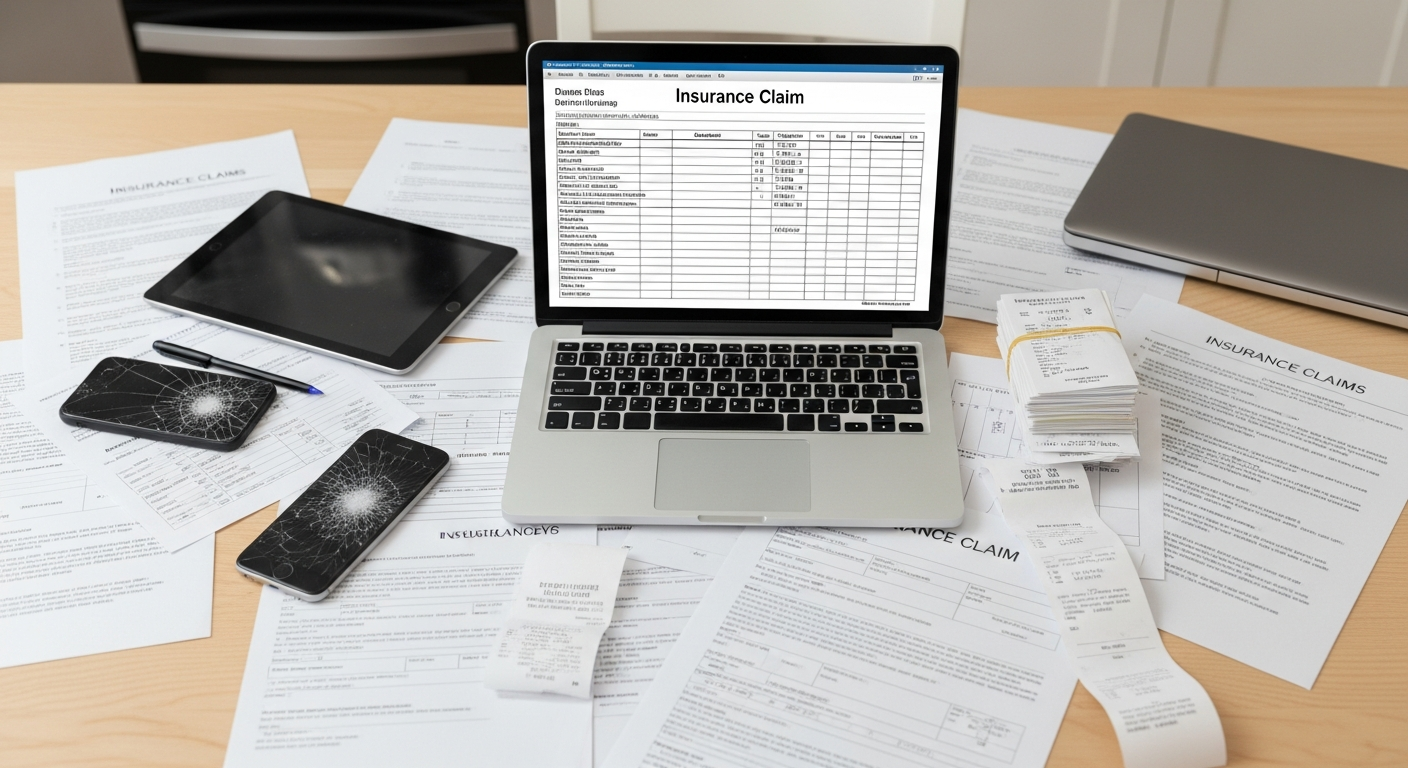
Strategy 2: File Your Claim on Day 1
Report your claim the same day the damage occurs. Early reporting:
- Creates a documented timestamp for the event
- Gets you into the adjuster queue sooner (the queue is first-come, first-served)
- Demonstrates prompt action, which strengthens your claim
- Starts the clock on insurer response deadlines (most states require acknowledgement within 15 days)
Every day you delay filing is a day added to the back end of your project. If you file on Day 5 instead of Day 1, the adjuster visits on Day 14 instead of Day 10. Insurance approval comes on Day 30 instead of Day 26. Reconstruction starts a week later. And the whole time, you're living somewhere that isn't your home. (Filing a claim while standing in three inches of water isn't anyone's idea of a good time. But future-you will appreciate the head start.)
Strategy 3: Authorise Emergency Mitigation Immediately
Your policy requires you to mitigate further damage — this means authorising professional water extraction and drying immediately, not waiting for the adjuster to visit.
Critical distinction: insurers cannot deny mitigation costs because you didn't wait for adjuster approval. Emergency mitigation is your contractual obligation. If you wait and damage worsens (mould sets in, structural damage increases, personal property deteriorates), the insurer can argue the additional damage was preventable — and exclude it from the claim.
| Action | Wait for Adjuster? | Why |
|---|---|---|
| Emergency water extraction | No — do immediately | Policy requires mitigation; delays increase damage and reduce claim |
| Placing drying equipment | No — do immediately | Same as above; drying must begin within hours |
| Removing wet carpet/padding | No — document first, then remove | Contaminated materials worsen daily; photograph before removing |
| Reconstruction/rebuilding | Yes — wait for approval | Non-emergency; scope must be approved before work begins |
| Disposing of damaged items | Photograph first, then dispose | Adjuster may not visit for days; detailed photos replace physical evidence |
Strategy 4: Get Independent Contractor Estimates
Before your adjuster visits — or as quickly after as possible — get written estimates from at least two IICRC-certified restoration contractors for the complete restoration scope.
Why this matters: your adjuster uses Xactimate software to estimate costs. Xactimate pulls pricing from a database. That database may not reflect current local market rates, especially in high-demand periods after storms. An independent contractor estimate that says "$47,000" creates a documented comparison point when the adjuster's Xactimate estimate says "$31,000."
Without your own estimate, you have no basis for comparison. You're accepting one party's assessment of what your repairs cost — the party that benefits from a lower number.
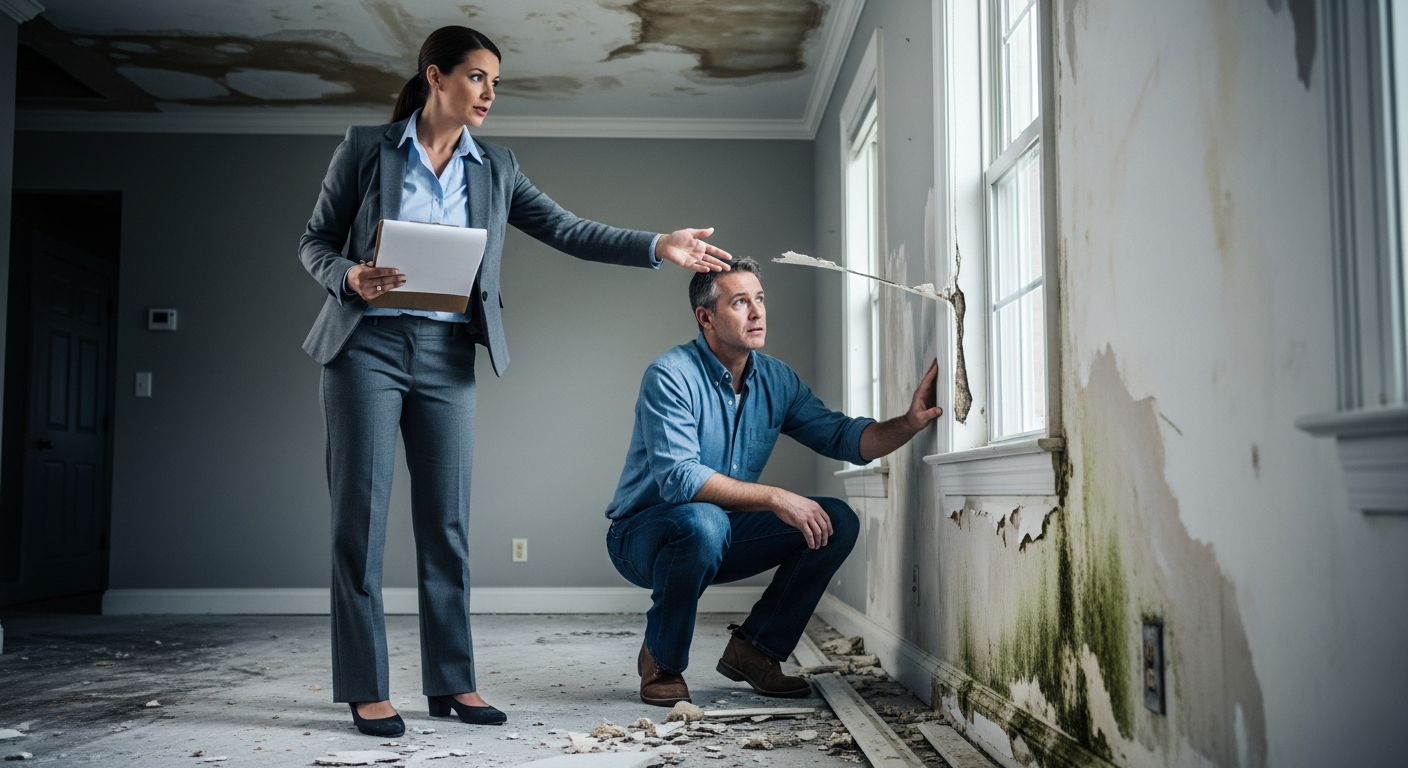
Strategy 5: Be Present During the Adjuster's Inspection
Be home and walk with the adjuster through the entire inspection. This is not optional. This is where settlements are won or lost.
What to do during the walkthrough:
- Point out all damage — including areas that aren't obvious: inside walls, under flooring, in the crawl space, inside the HVAC system
- Provide your photos and videos from Day 1 — the adjuster sees the partially mitigated scene, not the original damage
- Ask specific questions: What's included in the scope? What's not? What unit prices are being used? Is this being calculated at ACV or RCV?
- Take notes — write down what the adjuster says is included, what they say isn't, and any items they verbally agree need to be added
The adjuster is processing a high volume of claims. They may spend 30–60 minutes in your home. In that time, they cannot identify every hidden issue. Your job is to make sure nothing gets missed — politely, specifically, and with documentation in hand.
Strategy 6: Claim All Damage Categories
Water damage claims involve multiple coverage categories. Most homeowners claim structural damage and miss the others entirely:
| Category | What It Covers | Commonly Missed Items | Potential Value |
|---|---|---|---|
| Structural (Dwelling) | Building materials, systems, fixtures | HVAC contamination, subfloor damage, insulation | $5,000–$100,000+ |
| Personal Property | Furniture, electronics, clothing, appliances | Items in closets, storage, garage affected by same event | $2,000–$50,000+ |
| Additional Living Expenses (ALE) | Hotel, meals above normal cost, laundry, storage, pet boarding | Meal cost differentials, extended stay costs, mileage to temporary housing | $3,000–$20,000+ |
| Matching | Replacing undamaged areas to match new materials | Flooring in adjacent rooms, siding, paint | $2,000–$15,000+ |
| Code Upgrade | Building code compliance upgrades during reconstruction | Electrical panel upgrades, insulation standards, smoke detector requirements | $1,000–$10,000+ |
The average homeowner claims 2 of these 5 categories. The informed homeowner claims all applicable categories. The difference is significant. (Your insurer doesn't send you a checklist of everything you can claim. That would be very sporting of them, but it's not how insurance works.)
Strategy 7: File for Recoverable Depreciation
This is the single most commonly missed step in the entire claims process — and it can be worth 20–40% of your total settlement.
If you have Replacement Cost Value (RCV) coverage, your insurer initially pays the depreciated value (Actual Cash Value) and withholds the remaining depreciation until repairs are completed. This "recoverable depreciation" holdback is released when you:
- Complete the repairs or replacements
- Submit final contractor invoices and receipts to your insurer
- Request release of the depreciation holdback — in writing
| Example | RCV (Full Replacement) | Initial ACV Payment | Recoverable Depreciation |
|---|---|---|---|
| 10-year-old hardwood flooring | $12,000 | $7,200 | $4,800 |
| 15-year-old HVAC system | $8,000 | $3,200 | $4,800 |
| 8-year-old kitchen cabinets | $15,000 | $9,000 | $6,000 |
| 5-year-old carpet | $4,000 | $2,400 | $1,600 |
| Total example | $39,000 | $21,800 | $17,200 |
In this example, the homeowner who completes repairs and files for recoverable depreciation receives $17,200 more than the homeowner who accepts the initial cheque and never files. That's not a rounding error. That's a significant sum of money your policy entitles you to — that your insurer is not going to volunteer.
Strategy 8: Know When to Bring in Help
| Situation | Who to Call | Typical Cost | Expected Benefit |
|---|---|---|---|
| Claim over $15,000 that seems underpaid | Public adjuster | 10–15% of settlement | 20–50% increase in settlement |
| Coverage denial you believe is wrong | Insurance attorney | Contingency (25–40%) | Coverage reversal + settlement |
| Bad faith handling (delays, misrepresentation) | State insurance commissioner + attorney | Commissioner: free. Attorney: contingency. | Regulatory review + potential bad faith damages |
| Amount dispute under $10,000 | Written supplement with contractor estimate | Free (your time) | Direct negotiation often resolves |
Public adjusters routinely increase settlements by 20–50% on underpaid claims. On a $40,000 claim that should have been $55,000, their 10% fee ($5,500) nets you an additional $9,500. The maths consistently works in your favour on claims above $15,000.
Signs Your Claim Is Underpaid
Red flags that indicate you're leaving money on the table:
- The adjuster's inspection was rushed — 15 minutes for a multi-room event isn't enough time
- The estimate uses below-market pricing — compare unit costs to your independent contractor estimates
- Damage areas were excluded without explanation — especially inside walls, under flooring, HVAC
- No line-item breakdown provided — you received a cheque without a detailed Xactimate report
- Personal property wasn't assessed — the adjuster focused only on structural damage
- Matching wasn't addressed — only the damaged area was scoped, ignoring adjacent mismatch
- ALE wasn't mentioned — if your home was uninhabitable, ALE should have been discussed
Frequently Asked Questions
What is the best way to maximize a water damage insurance claim?
Document everything before cleanup begins (photos, video, ruler against waterline), file immediately on Day 1, authorise professional mitigation without waiting for the adjuster, get independent contractor estimates, be present during the adjuster's inspection, claim all damage categories (structural + personal property + ALE + matching + code upgrades), and file for recoverable depreciation once repairs are complete. Each step individually can add thousands to your settlement.
Can I negotiate a water damage insurance settlement?
Yes. The adjuster's initial assessment is a starting point, not a final offer. If you have documentation supporting a higher claim — independent contractor estimates, Day 1 photos showing damage the adjuster couldn't see, evidence of missed items — you have grounds to negotiate. Submit a written supplement with specific line-item objections. For larger disputes, a public adjuster can negotiate on your behalf.
How does depreciation affect my water damage settlement?
With ACV policies, the insurer deducts depreciation and pays only the depreciated value. With RCV policies, the insurer initially withholds the depreciation amount and releases it after you complete repairs and submit invoices. This "recoverable depreciation" can be 20–40% of the total settlement. Filing for it is the single most commonly missed step in the claims process — worth thousands on significant claims.
Should I hire a public adjuster for my water damage claim?
For claims above $15,000 where the settlement seems underpaid, a public adjuster is typically worth the 10–15% fee. They routinely increase settlements by 20–50% through professional re-assessment and negotiation. For claims under $10,000, a well-documented written supplement often resolves the dispute without the additional cost. For coverage denials, an insurance attorney is more appropriate than a public adjuster.
What is recoverable depreciation?
With Replacement Cost Value (RCV) policies, the insurer initially pays the depreciated value (ACV) and holds back the remaining depreciation until you complete repairs and submit invoices. This holdback — called recoverable depreciation — can be 20–40% of the total settlement. After submitting contractor invoices and completion documentation, the insurer releases the holdback. Many homeowners complete repairs and never file for it, leaving thousands of dollars unclaimed.
Your insurance policy is a contract. It specifies what you're entitled to. The strategies above aren't tricks — they're the process of actually claiming what the contract provides for. Document thoroughly. File immediately. Claim every applicable category. And when the repairs are done, file for the depreciation holdback. That last step alone has paid for more home renovations than any loyalty discount ever has. Your insurer isn't going to call you and say "hey, you forgot to claim $17,000." That call is your job. Make it.